

Quick Overview
Categories
Scope of Practice (ScOP) Designation
Aim of Dressing
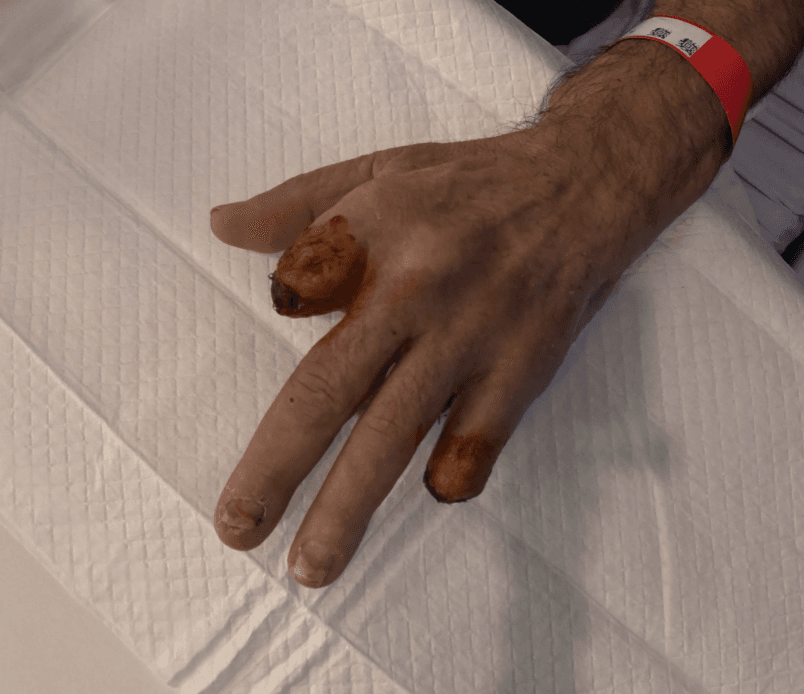
Promote secondary intention healing to suture lines of the fingers as there is some dehiscence
Tips & Tricks
1) Keep the dressings simplistic
Dressing Changes (Min - Max)
Daily/Second Daily
Shopping List
Dressing Pack (Small)
Inadine (10cm x10cm)
Hypafix (5cm x 10m)
Product Selection Disclaimer:
The wound care products being currently used are a suggestion ONLY. They do not take into account your patient's individual needs which you must assess. No funding from medical companies has been provided and wound care products are chosen on their merit and what is available on the NSW Health State Wound Care Contract. Where an exact brand name product is not available we suggest you review the alternative tab or use another wound care product from its category eg. Hydrofibre
Video Tutorial
Related Tutorials
Tutorial Steps
Swipe
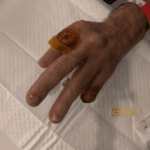
Clean the suture lines and the peri-wound skin around it. Make sure you are removing any old betadine so that it doesn’t build up.

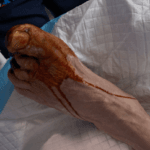
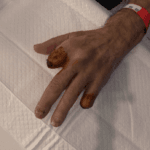
Apply betadine to the suture line and to the whole joint of the finger.
Allow to dry 1-2min. Whilst you are waiting you can cut the inadine for step 4.
Place a double layer of thin strips over the suture lines.
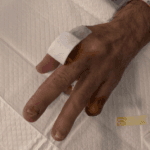
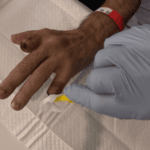
Cut the material island dressing to an appropriate size and place over the wound.

Using hypafix secure the island dressing around the finger. *DO NOT apply tension as it can torniquet the finger*
General Notes
What have we learnt:
1.Less is more for fingers as they end up looking like lollipops and become soiled easily